‘Coffee’ – Just reading the word makes us feel alive, active, and grateful. Well, it’s understandable since coffee does have that effect on people! But what about the coffee grounds? Can you reuse them in your garden? If yes, how? Can you compost them? Let’s dig in!
Key Takeaways
- You can compost coffee grounds as they are an incredible source of Nitrogen and improve soil tilth and structure.
- Coffee Grounds can be composted through Hot composting, Tumbler Composting, and Bokashi Composting.
- It’s best to use around 20% by volume of coffee grounds in the compost pile, and make sure to add equal amounts of brown compost material.
- Coffee grounds aid in aeration and repel pets. But these are not the only benefits. For more pros, uses and tips for composting coffee grounds, read along!
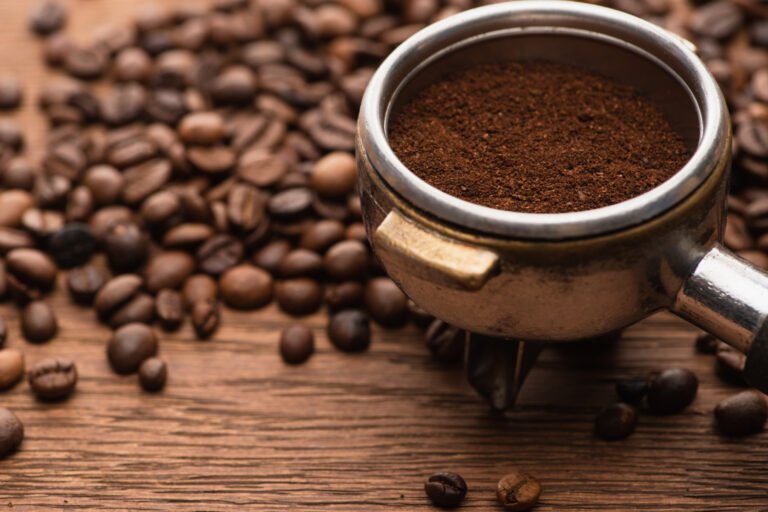
What are Coffee Grounds?
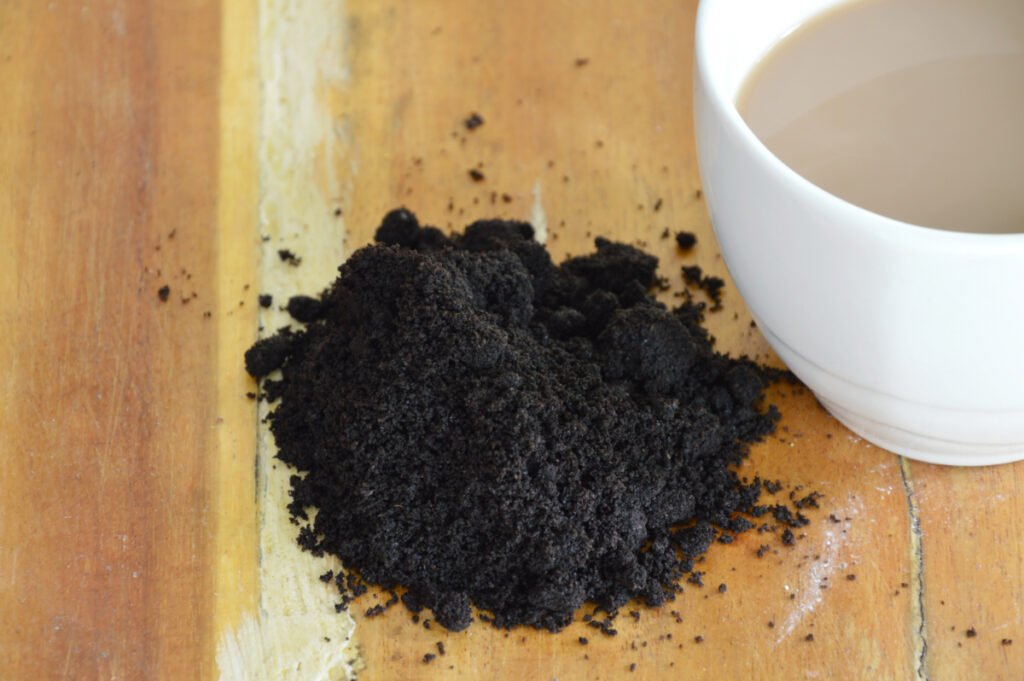
Coffee grounds are the derivatives of the brewing process. After you finish a cup of coffee, the leftover dregs at the bottom of your cup are used coffee grounds, which can be advantageous for your plants.
Though coffee is brown color-wise, it falls in the category of green compost material. So, adding equal amounts of brown materials to the compost is significant for the best results.
How to Compost Coffee Grounds?
Coffee grounds can be composted in a compost bin, composting tumbler, compost pile, or a Bokashi bin.
Composting in a Compost Bin
It’s easy to compost coffee grounds in a compost bin or heap. If you already have a compost pile, add the grounds in it and other greens, and you’re done!
If you’re starting a compost bin from scratch, follow these steps:
Step 1. Prepare a Bin
Buy a composting bin or DIY one using a plastic container by poking holes around it.
Step 2. Add a Layer of Brown Material
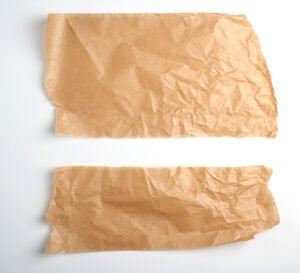
Add a layer of brown materials to the bin. Brown material includes shredded paper, pine needles, twigs, straws, hay, etc.
These are rich in Carbon and provide energy to the microbes.
Step 3. Add a Layer of Green Material
Mix the coffee grounds with other green materials, including grass clippings and kitchen scraps, like peelings, bread, etc., and add a firm layer of these greens over the browns.
Step 4. Add Some Water
Sprinkle some water between the layers to facilitate composting and maintaining moisture content.
Step 5. Repeat the Layers
Add layers of browns and greens alternatively., with the addition of water in between. Once all the stock is composted, add a layer of soil.
Step 6. Maintain the Bin
Keep a check on the moisture content in the compost pile for the best results. If the pile is dry, add more greens; if it’s leaking, add browns.
Also, turn the pile once in a while for aeration.
With proper care and monitoring, the final compost will be ready within 4-6 months.
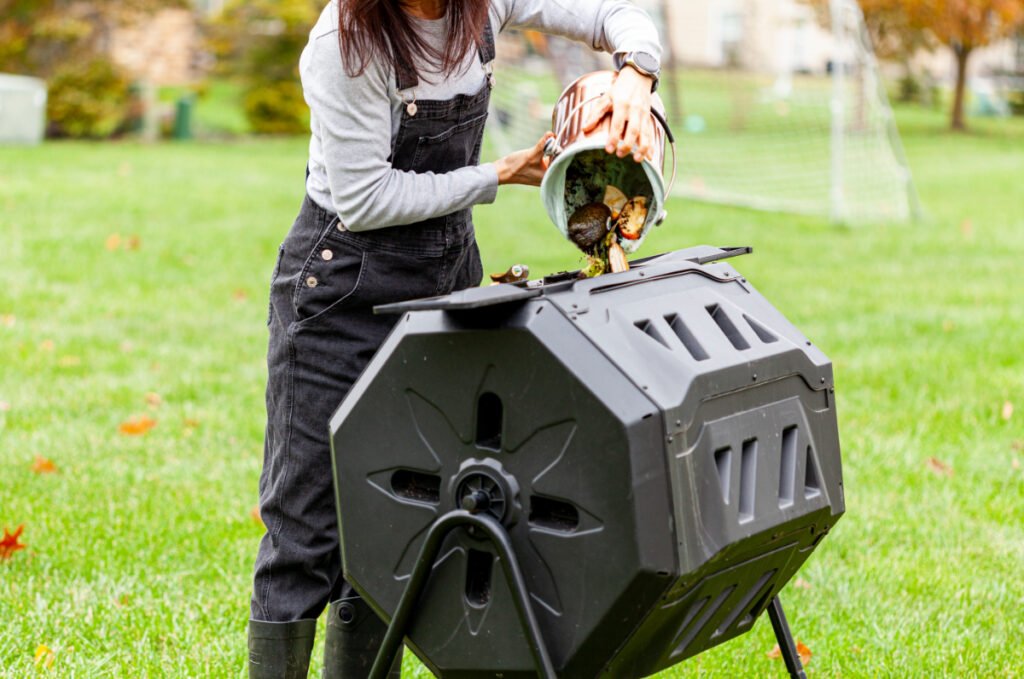
How to Compost Coffee Grounds in a Composting Tumbler?
Tumbler composting is an effective way of composting as it maintains the right temperature without much maintenance.
And since it doesn’t attract pests or release odor, you can place it anywhere in the yard.
Here’s how to compost coffee grounds via Tumbler Composting:
Step 1. Get a Composter
Get the right size of composting tumbler based on the amount of organic waste you want to compost.
Big composters give better and faster results, and the large space retains more heat.
Step 2. Mix Coffee Grounds with Browns and Greens
Mix the coffee grounds with brown materials like hay, wood chips, paper, etc., and green, Nitrogen-rich materials like food scraps and grass clippings.
It’s best to start with a 1:1 Brown to green ratio in the composter for best results. You can later go with a 3:2 ratio, i.e., three parts browns to 2 parts green.
Step 3. Add the Material to the Bin
Add all the composting material to the tumbler in batches.
Always leave 20% space of the tumbler empty for heat to generate and retain.
You can also add some fresh soil or some microbes to the composter to get the decomposition started quickly.
Step 4. Maintain the Moisture
Maintain the moisture level in the bin; the compost mustn’t be overwet or overdry.
The ideal moisture content for tumbler composting is 40-60%.
Step 5. Turn the Composter Regularly
Turning a composting tumbler is quite easy. Remember to turn it in 2-3 days after adding materials.
Once the compost starts maturing, turn it lesser and lesser.
Turn the composting tumbler occasionally, as over-turning might dry out the ingredients faster and cause the heat generated in the center to escape.
Composting Coffee Grounds in a Bokashi Bin?
Bokashi composting is a very effective and less time-consuming method of composting spent coffee grounds.
It is an anaerobic method of fermentation that gives fermented waste or pre-compost that needs to be composted for further decomposition.

Follow this guide to compost coffee grounds quickly:
Step 1. Get a Bokashi Bin
Buy a bokashi bin or make one using two buckets by poking holes at the bottom of one bucket and keep it inside the other using an elevation.
Step 2. Add Bokashi Bran
Add a firm layer of Bokashi bran to the drain plate at the base of the Bokashi bin.
Step 3. Add the Food Waste
Now add coffee grounds along with other food waste. You can even include chicken or fish bones or shrimp shells in the bokashi bin.
Step 4. Add Another Layer of Bran
Add another first layer of bokashi bran and press all the stock to remove the air pockets. Then cover the lid.
And that’s it! You can enjoy your coffee ground compost in just 4-6 weeks.
Smell the compost. If the smell is foul, it is a sign that the green content is more in comparison to the brown. In this case, add more brown material to the compost.
Benefits of Composting Coffee Grounds
Coffee grounds have many benefits for the soil when composted. Here are some of the important benefits you must know about!
- Coffee grounds comprise almost 2% Nitrogen by volume. Adding coffee ground compost will encourage the growth of microorganisms in the soil.
Coffee grounds are not Nitrogen fertilizers. For best results, it is advised to add Nitrogen fertilizer along with coffee grounds.
- Coffee grounds add rich organic material to the compost, improving the characteristics and overall quality of the soil, and ultimately supplementing plant growth.
- Compost made up of coffee grounds creates tiny air pockets, which improve soil aeration.
- Soil tilth and structure are improved by adding coffee grounds to the compost, and hence, better drainage.
- Earthworms have an insatiable appetite for coffee grounds, and adding coffee ground compost will enhance burrowing leading to increased aeration and water filtration.
- Compost having coffee grounds can help keep the plants free from soil-borne diseases such as fungal rots and wilts (Fusarium, Pythium, Sclerotinia) and bacterial pathogens (E. coli, Staphylococcus).
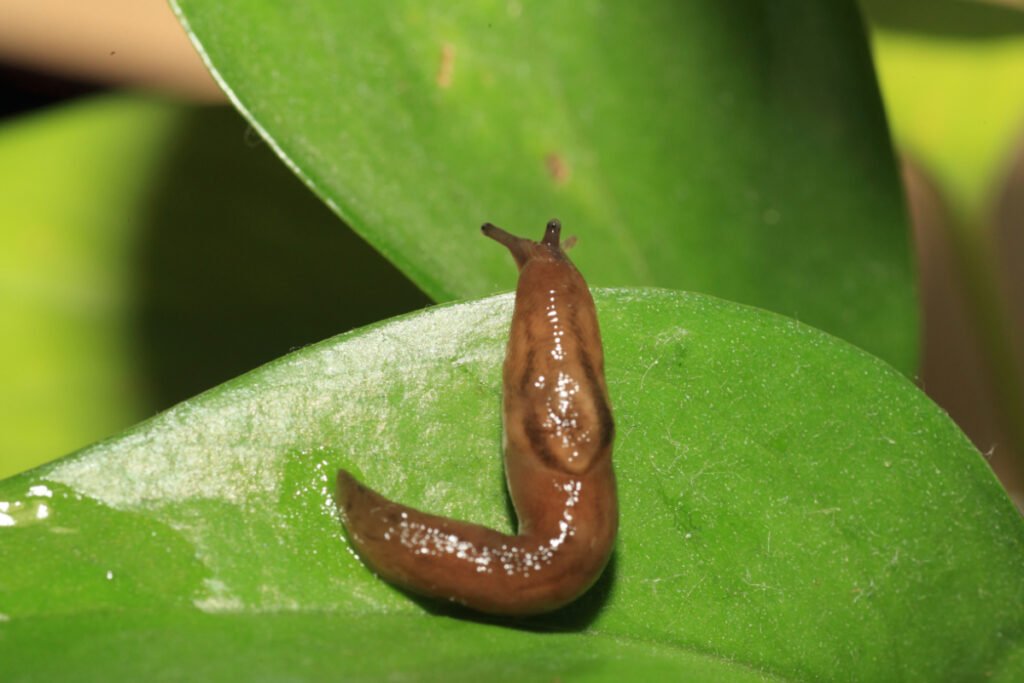
- Anecdotal evidence suggests that coffee grounds repel snails, slugs, rabbits, cats, beetles, aphids, and ants. So this compost might keep them away from your plants.
- Using coffee ground compost on soil inhibits weed growth and can help keep our plants clean.
- As most spent grounds end up in landfills, high anaerobic decomposition occurs due to insufficient oxygen. This produces high amounts of methane, which is 25 times more harmful than Carbon dioxide, contributing to global warming.
- Coffee grounds are also a good source of Magnesium, Copper, Calcium, Zinc, Manganese, and Iron, making the compost a good fit for soil.
Disadvantages of Composting Coffee Grounds
Apart from the numerous advantages, using coffee for composting has certain disadvantages too.
- If not fully composted, caffeine in coffee grounds will produce an allelopathic effect on plants, which may inhibit germination in certain seeds.
- Composting coffee grounds will not increase soil acidity. Coffee grounds don’t make for acidic compost, and the pH can change over time.
According to the University of Arizona, the pH of coffee grounds ranges from acidic to alkaline. It changes over time from 4.6 to 8.4, and it can be said that coffee grounds are not always acidic and are not necessarily used to lower soil pH.
Precautions While Composting Coffee Grounds
- Make sure to use only 20% by volume of coffee grounds in a compost pile.
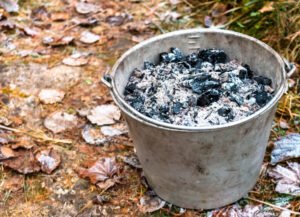
- Allow coffee grounds to cool before adding to the compost pile, as heat might kill the beneficial bacteria of the compost.
- Avoid adding coffee grounds to the vermicompost bins, as they can harm earthworms in confined areas.
- Finally, don’t add an excessive amount of coffee grounds to the compost.
Other Ways You Use Coffee Grounds For Plants
Although used coffee grounds make rich humus, composting is not the only way to reuse them. Let’s take a look at its other uses:
1. Apply directly on soil: You can spread the grounds and cultivate them into the soil.
2. Apply it as mulch: It is possible to apply coffee grounds as mulch; however, it is not recommended as coffee grounds are easily compacted due to the fine texture, resulting in the formation of a barrier to air movement and moisture.
The best way is to apply a thin layer of coffee grounds (less than 0.5 inches) as a mulch, followed by a thick layer, around 4 inches, of coarse organic matter, like wood chips.
3. Sprinkle on the soil: Sprinkling coffee grounds on the soil can help serve these benefits to the plants and avoid compaction, which seems to be a problem when applying them as mulch.
4. Coffee ground tea: You can make this beverage for your plants by adding 2 cups of coffee grounds with approximately 5 gallons of water. Let this concoction remain untouched for a few hours. And your coffee ground tea is ready! Use it in liquid form or as a foliar spray.
The best time to add coffee grounds to soil is just after the emergence of seedlings. However, coffee grounds can also be added in summer so that they have enough time to decompose before spring comes when it is planting time.
Nevertheless, it is best to try things on your own and have first-hand experience. So give your plants a treat once you finish that oh-so-amazing coffee!
Can we use flavored coffee for our plants?
Flavored coffee is good as long as its flavors are made of natural ingredients. It is not recommended to add coffee with artificial flavoring or high amounts of sugar.
Do coffee grounds kill earthworms?
No, coffee grounds do not kill earthworms. According to the University of Arizona, earthworms use coffee grounds as food and deposit them deep in the soil. This ultimately helps in improving the soil structure.
Can we pour hot coffee on plants?
No, you should not pour hot coffee on plants as it will lead to overheating roots.
How long does it take to decompose coffee grounds?
It takes around 3-6 months to compost spent coffee grounds in an outdoor pile with weekly turning.
Can we use coffee grounds compost for indoor plants?
Yes, you can use compost made from coffee grounds for indoor plants, as it will provide various nutrients to your houseplants.
Where can we get coffee grounds if we don’t drink coffee?
You can have fresh coffee grounds from a nearby restaurant or coffee shop.
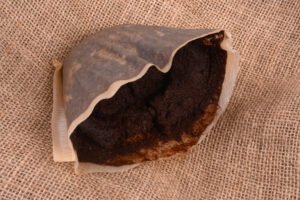
Are coffee filters compostable?
Yes, coffee filters are compostable. Adding them to the soil or compost pile is beneficial, as they are an excellent Carbon source. Use a shredded paper coffee filter or tear it into small pieces to ease decomposition.
Well, the best way to know about something is to try. So why don’t you grab a mug of coffee and say CHEERS to your newfound companion, plants? And don’t forget to compost the leftover coffee grounds. And if you use coffee filters and want to use them in your garden, hop on to our guide on can you compost coffee filters.